[Napkin cards: a tutorial.] I’m well aware I missed a Friday of favorites. I’ll be back with double the fun next Friday. For now, forgive me if I teach you how to make cards out of napkins with supplies you already have at your house?
Judy is a friend of Marilyn’s, the administrative assistant, and she’ll pop by at every major [and minor] holiday with treats and cards for us. Judy makes her cards out of napkins. NAPKINS. For a year now, I’ve been wondering how in the world she does it and where I could get the special supplies.
Judy brought me a napkin card kit and lovely directions last Thursday. Turns out I don’t need to rush off to the store to buy anything special. And if you’re anything like me, sometimes napkins are too pretty to actually wipe your mug with; here’s your solution to making paper napkins multi-functional and awesome.

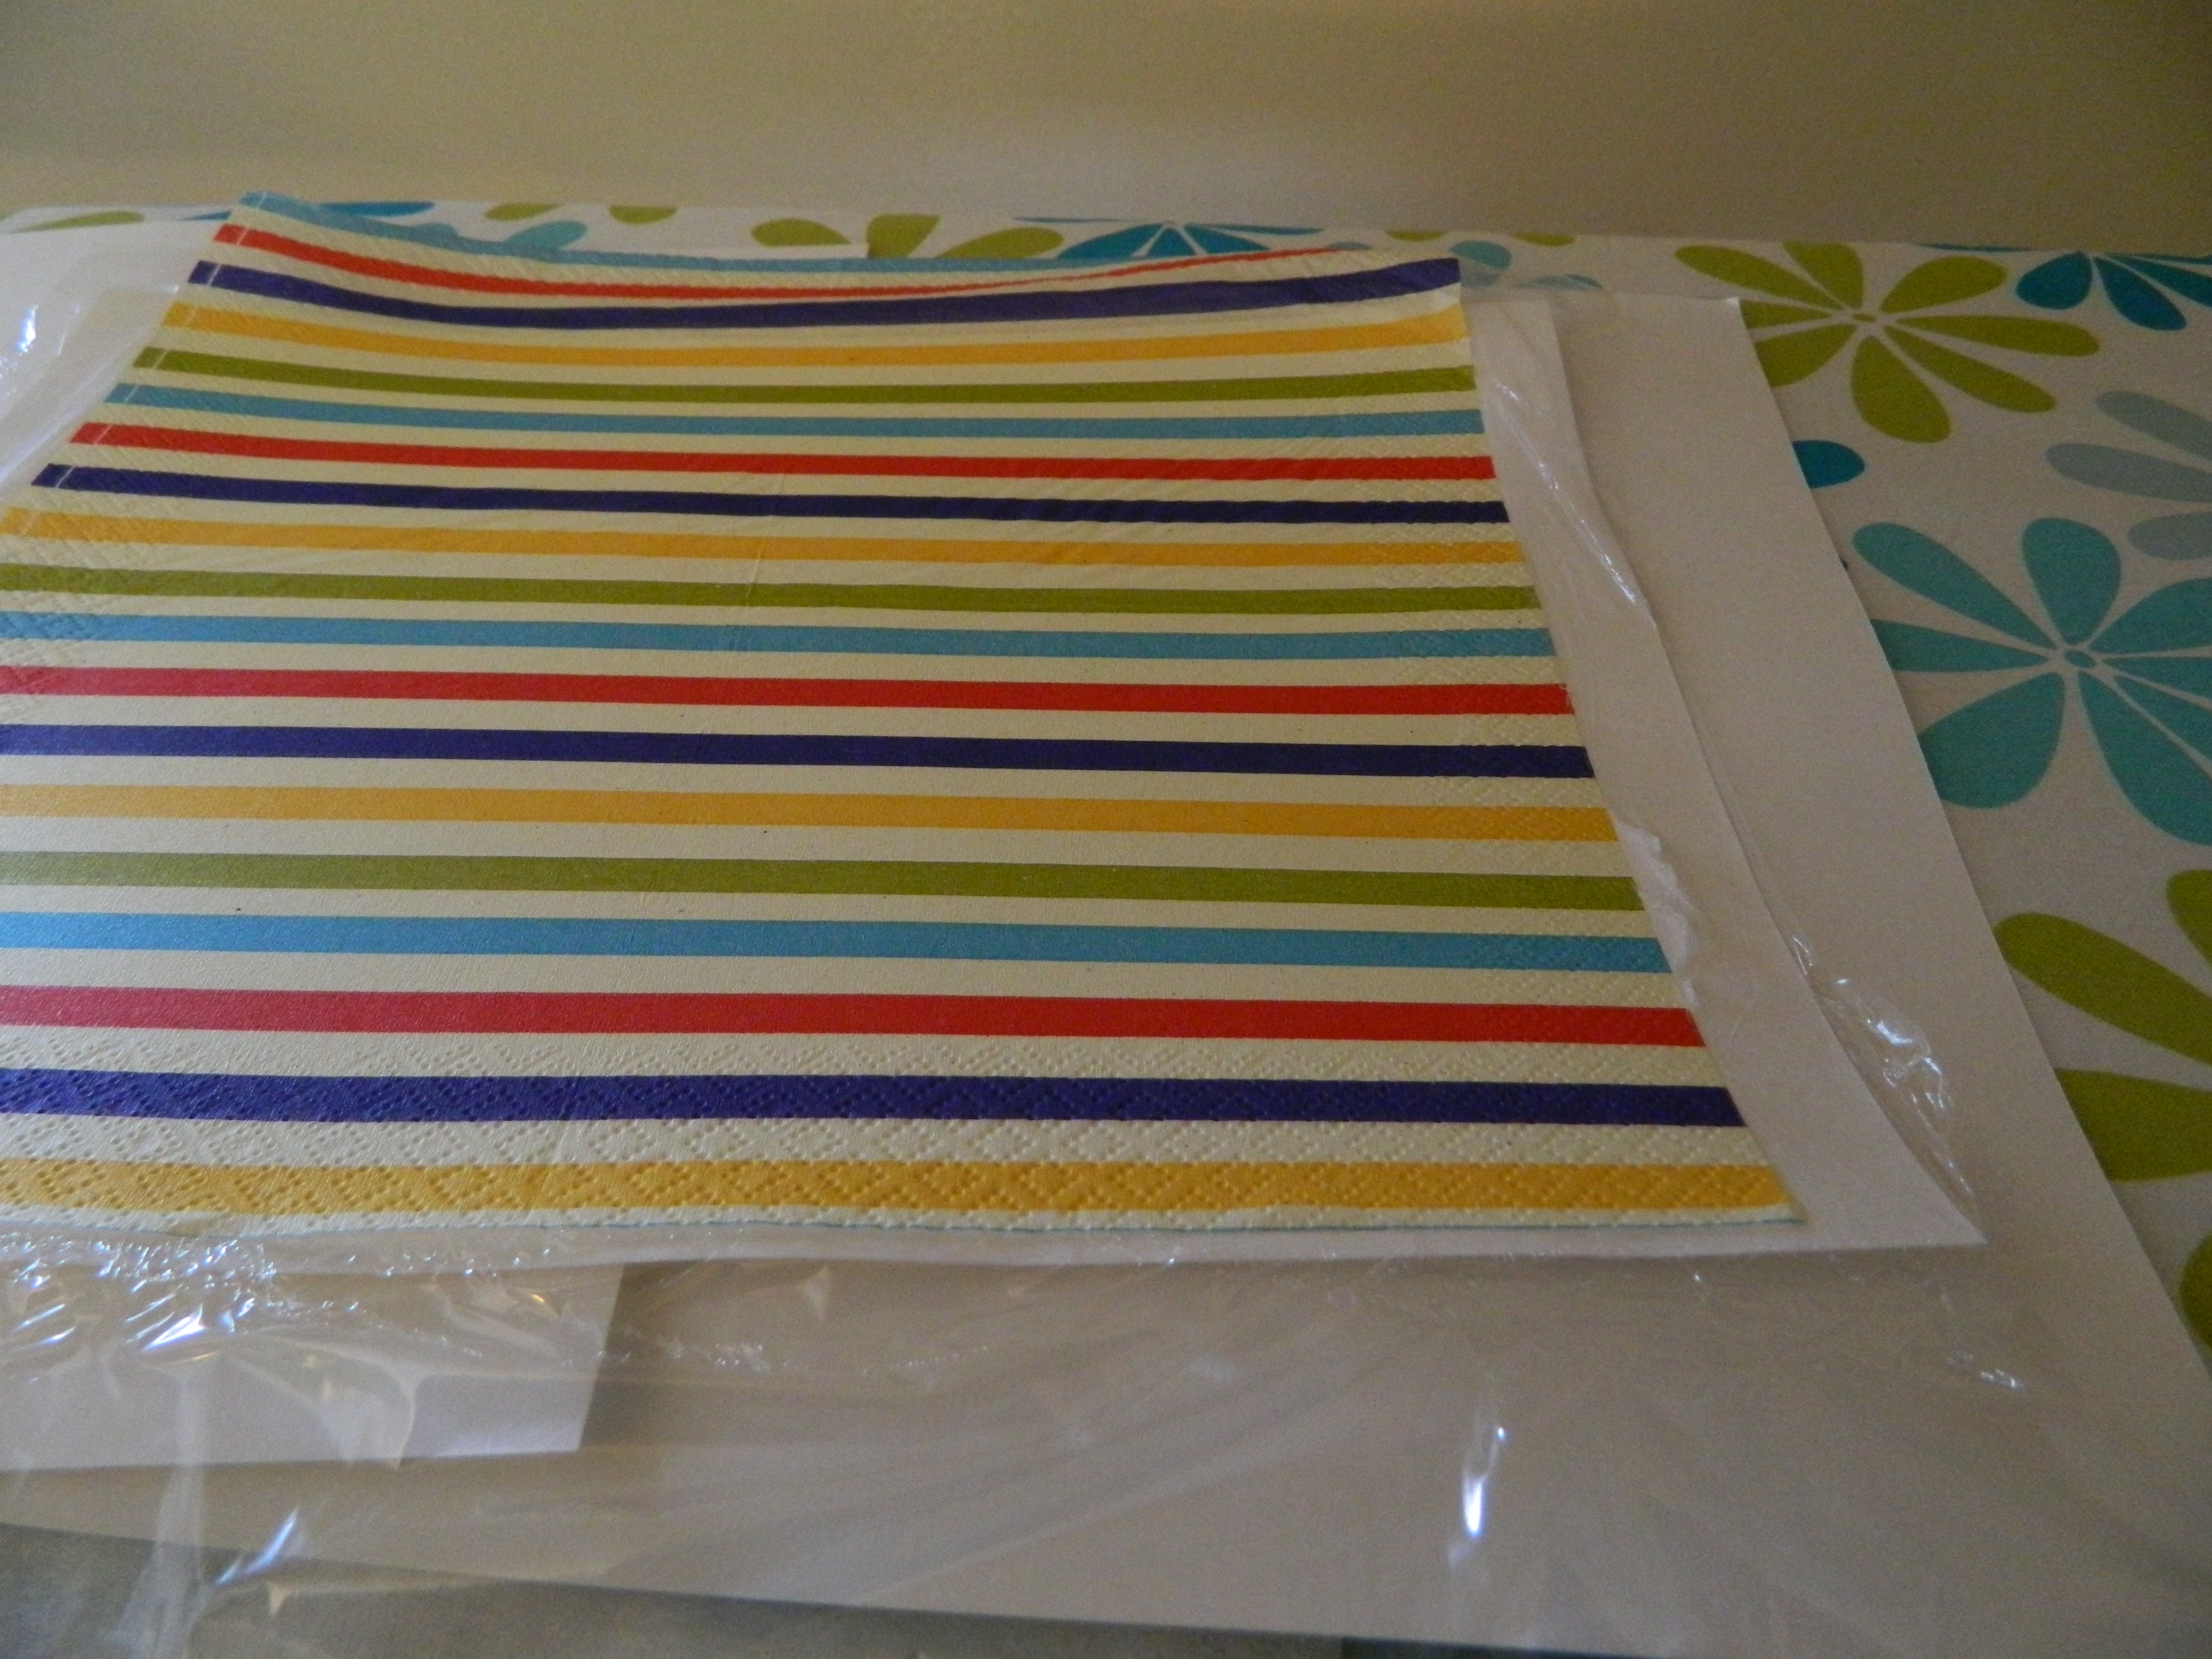
Gather your supplies. You will need the napkins of your choosing [mine are clearance Hanukkah napkins from last year], saran wrap [Judy emphasizes that the cheap, off-brand stuff works best!], card stock, and an iron. That’s it.

Begin by peeling the layers of your napkin apart. Napkins come two- and three-ply. We just need the one layer with the pretty stuff. Peel the other layers away but keep them on hand – they’ll help protect your iron later on.

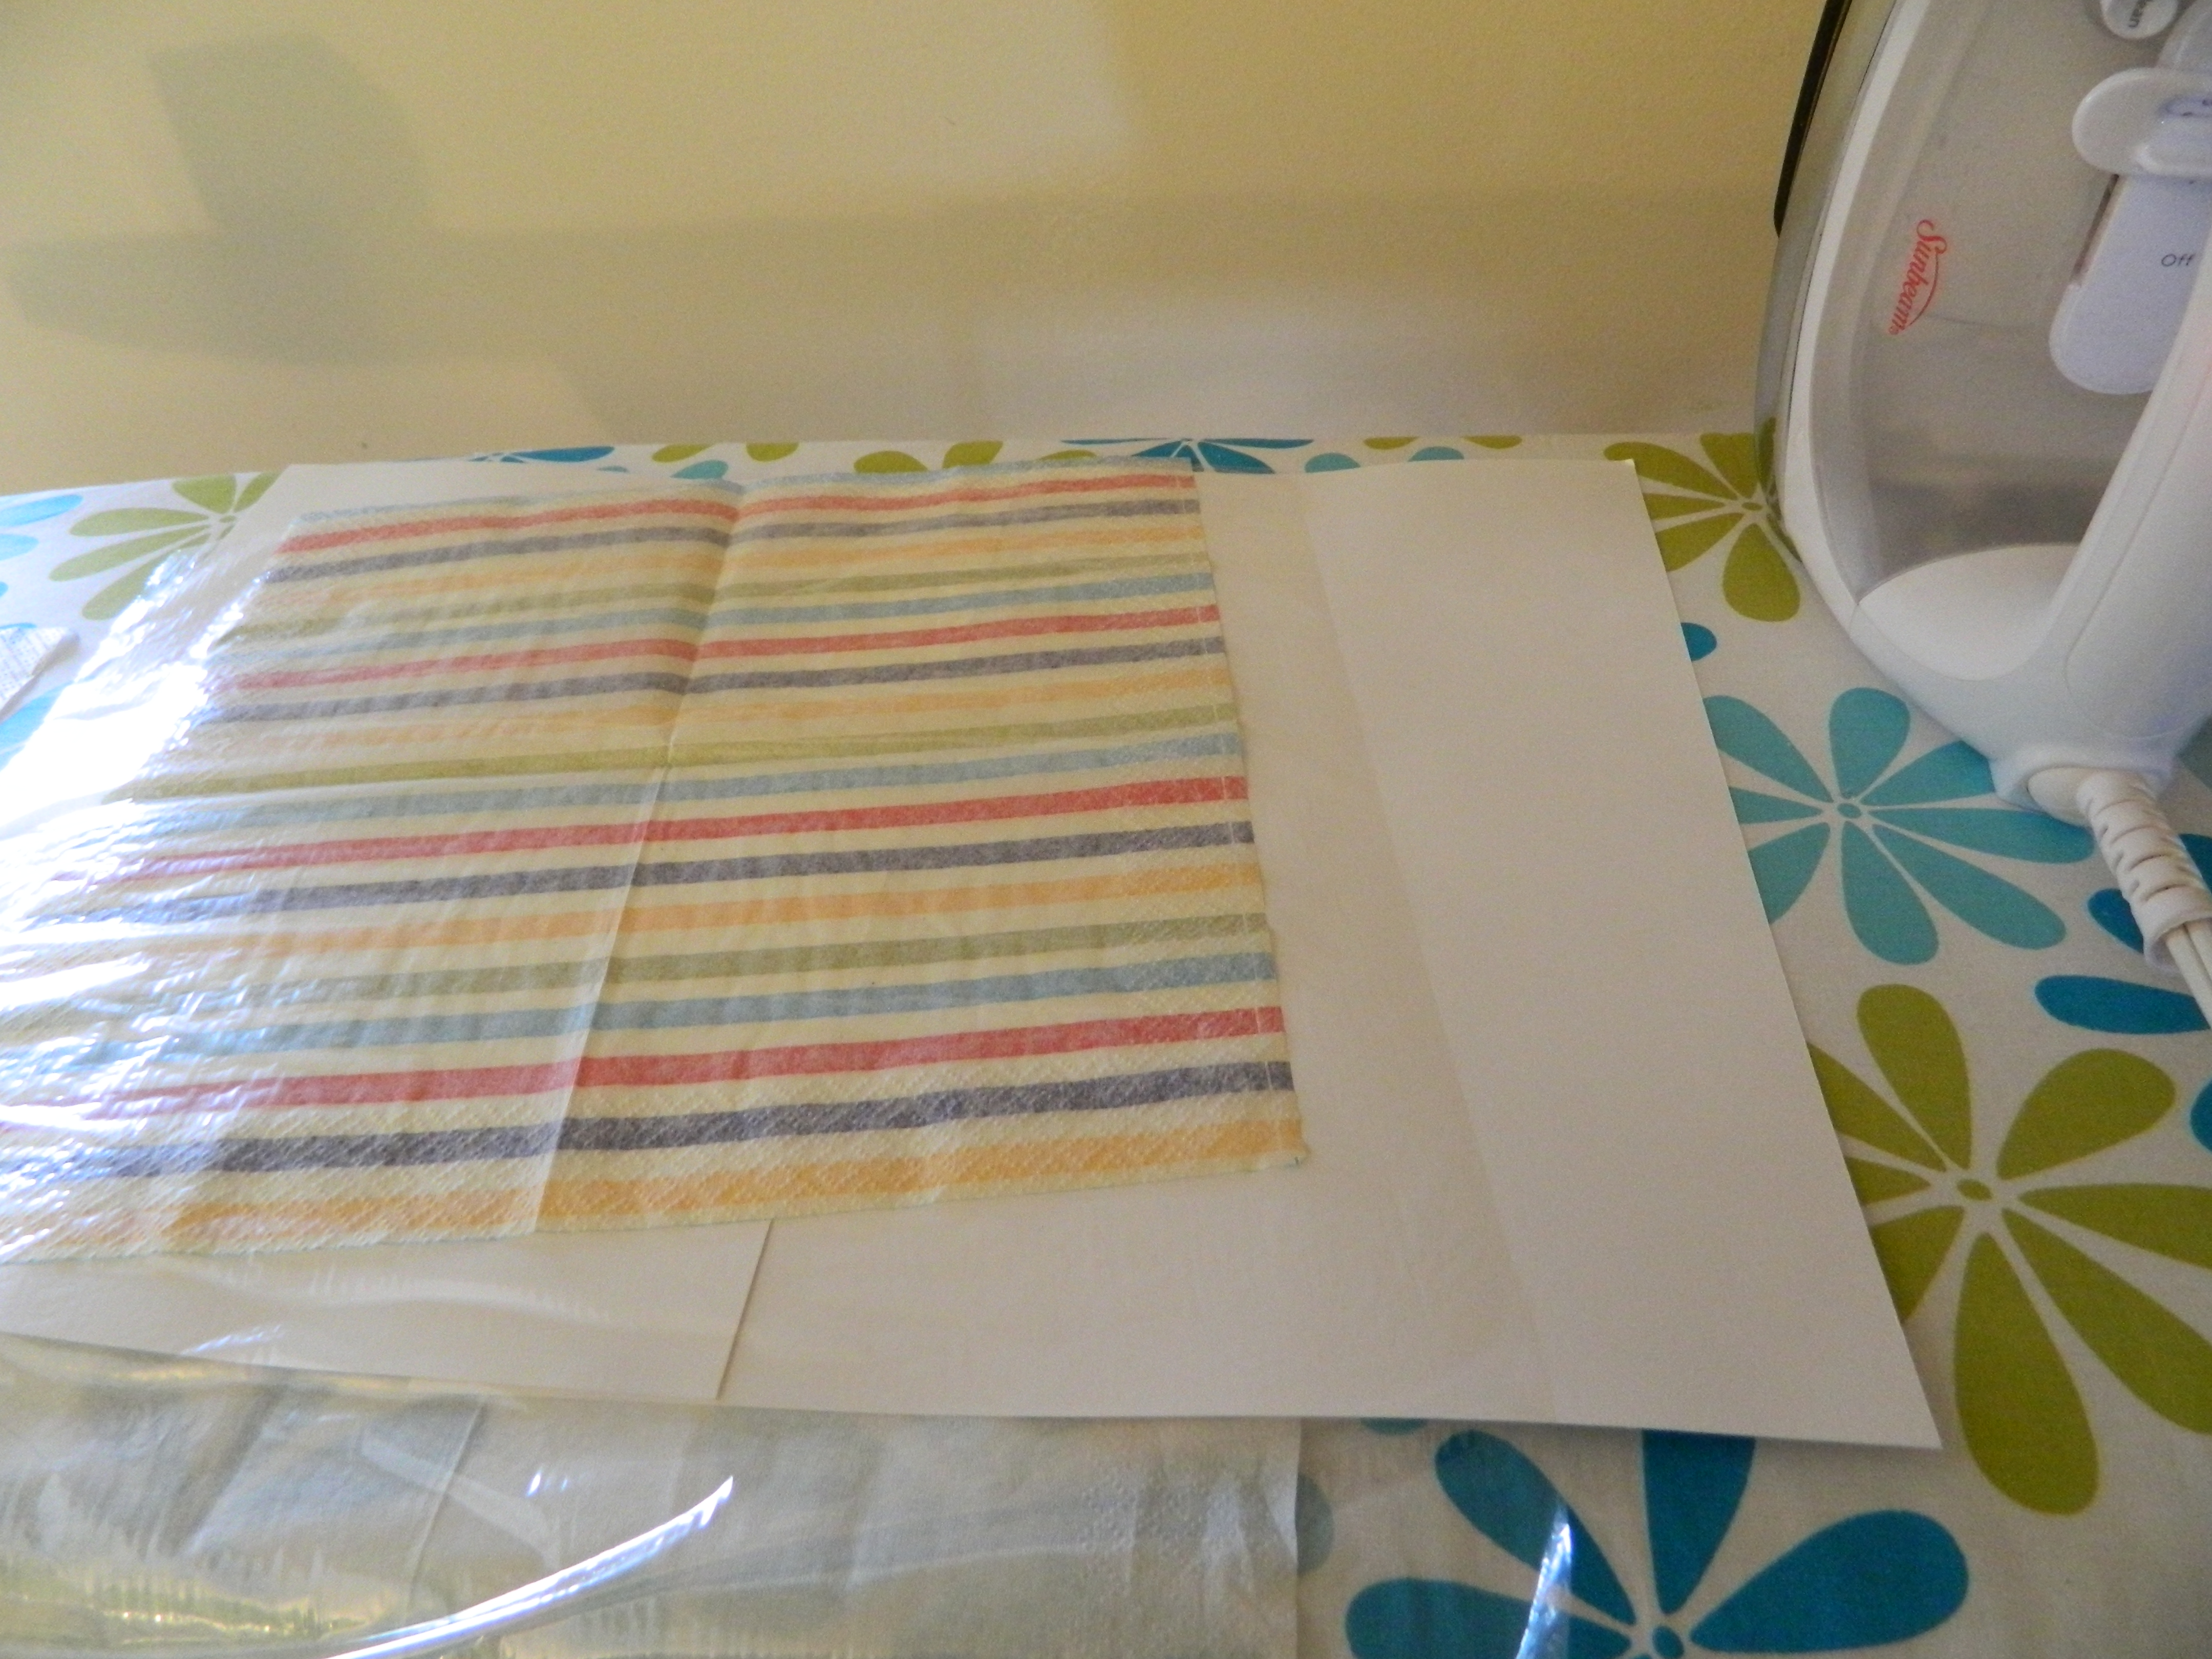
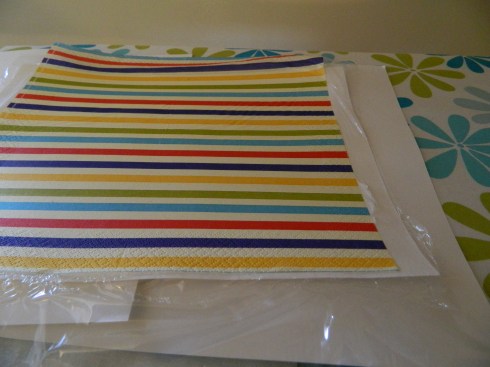
To the ironing board we go. Make sure your surface is protected and make a sandwich – napkin, saran wrap, cardstock. [Above are the bottom two layers of my sandwich – napkin wrong side up and smoothed saran wrap. The cardstock goes on top!] The saran wrap – when melted by the iron – will be the adhesive that holds the napkin [the outside of your card] to the cardstock [the inside of your card]. Cover the cardstock and any bits of saran wrap that are peeking out with the extra napkins layers. Make sure your iron makes no direct contact with the saran wrap! That would be one sticky mess.
Iron away using medium heat and no steam. Iron, iron, iron. Whistle while you iron. Sing a song. Just don’t scorch your cardstock and take care around the corners and edges to make sure they stick together.
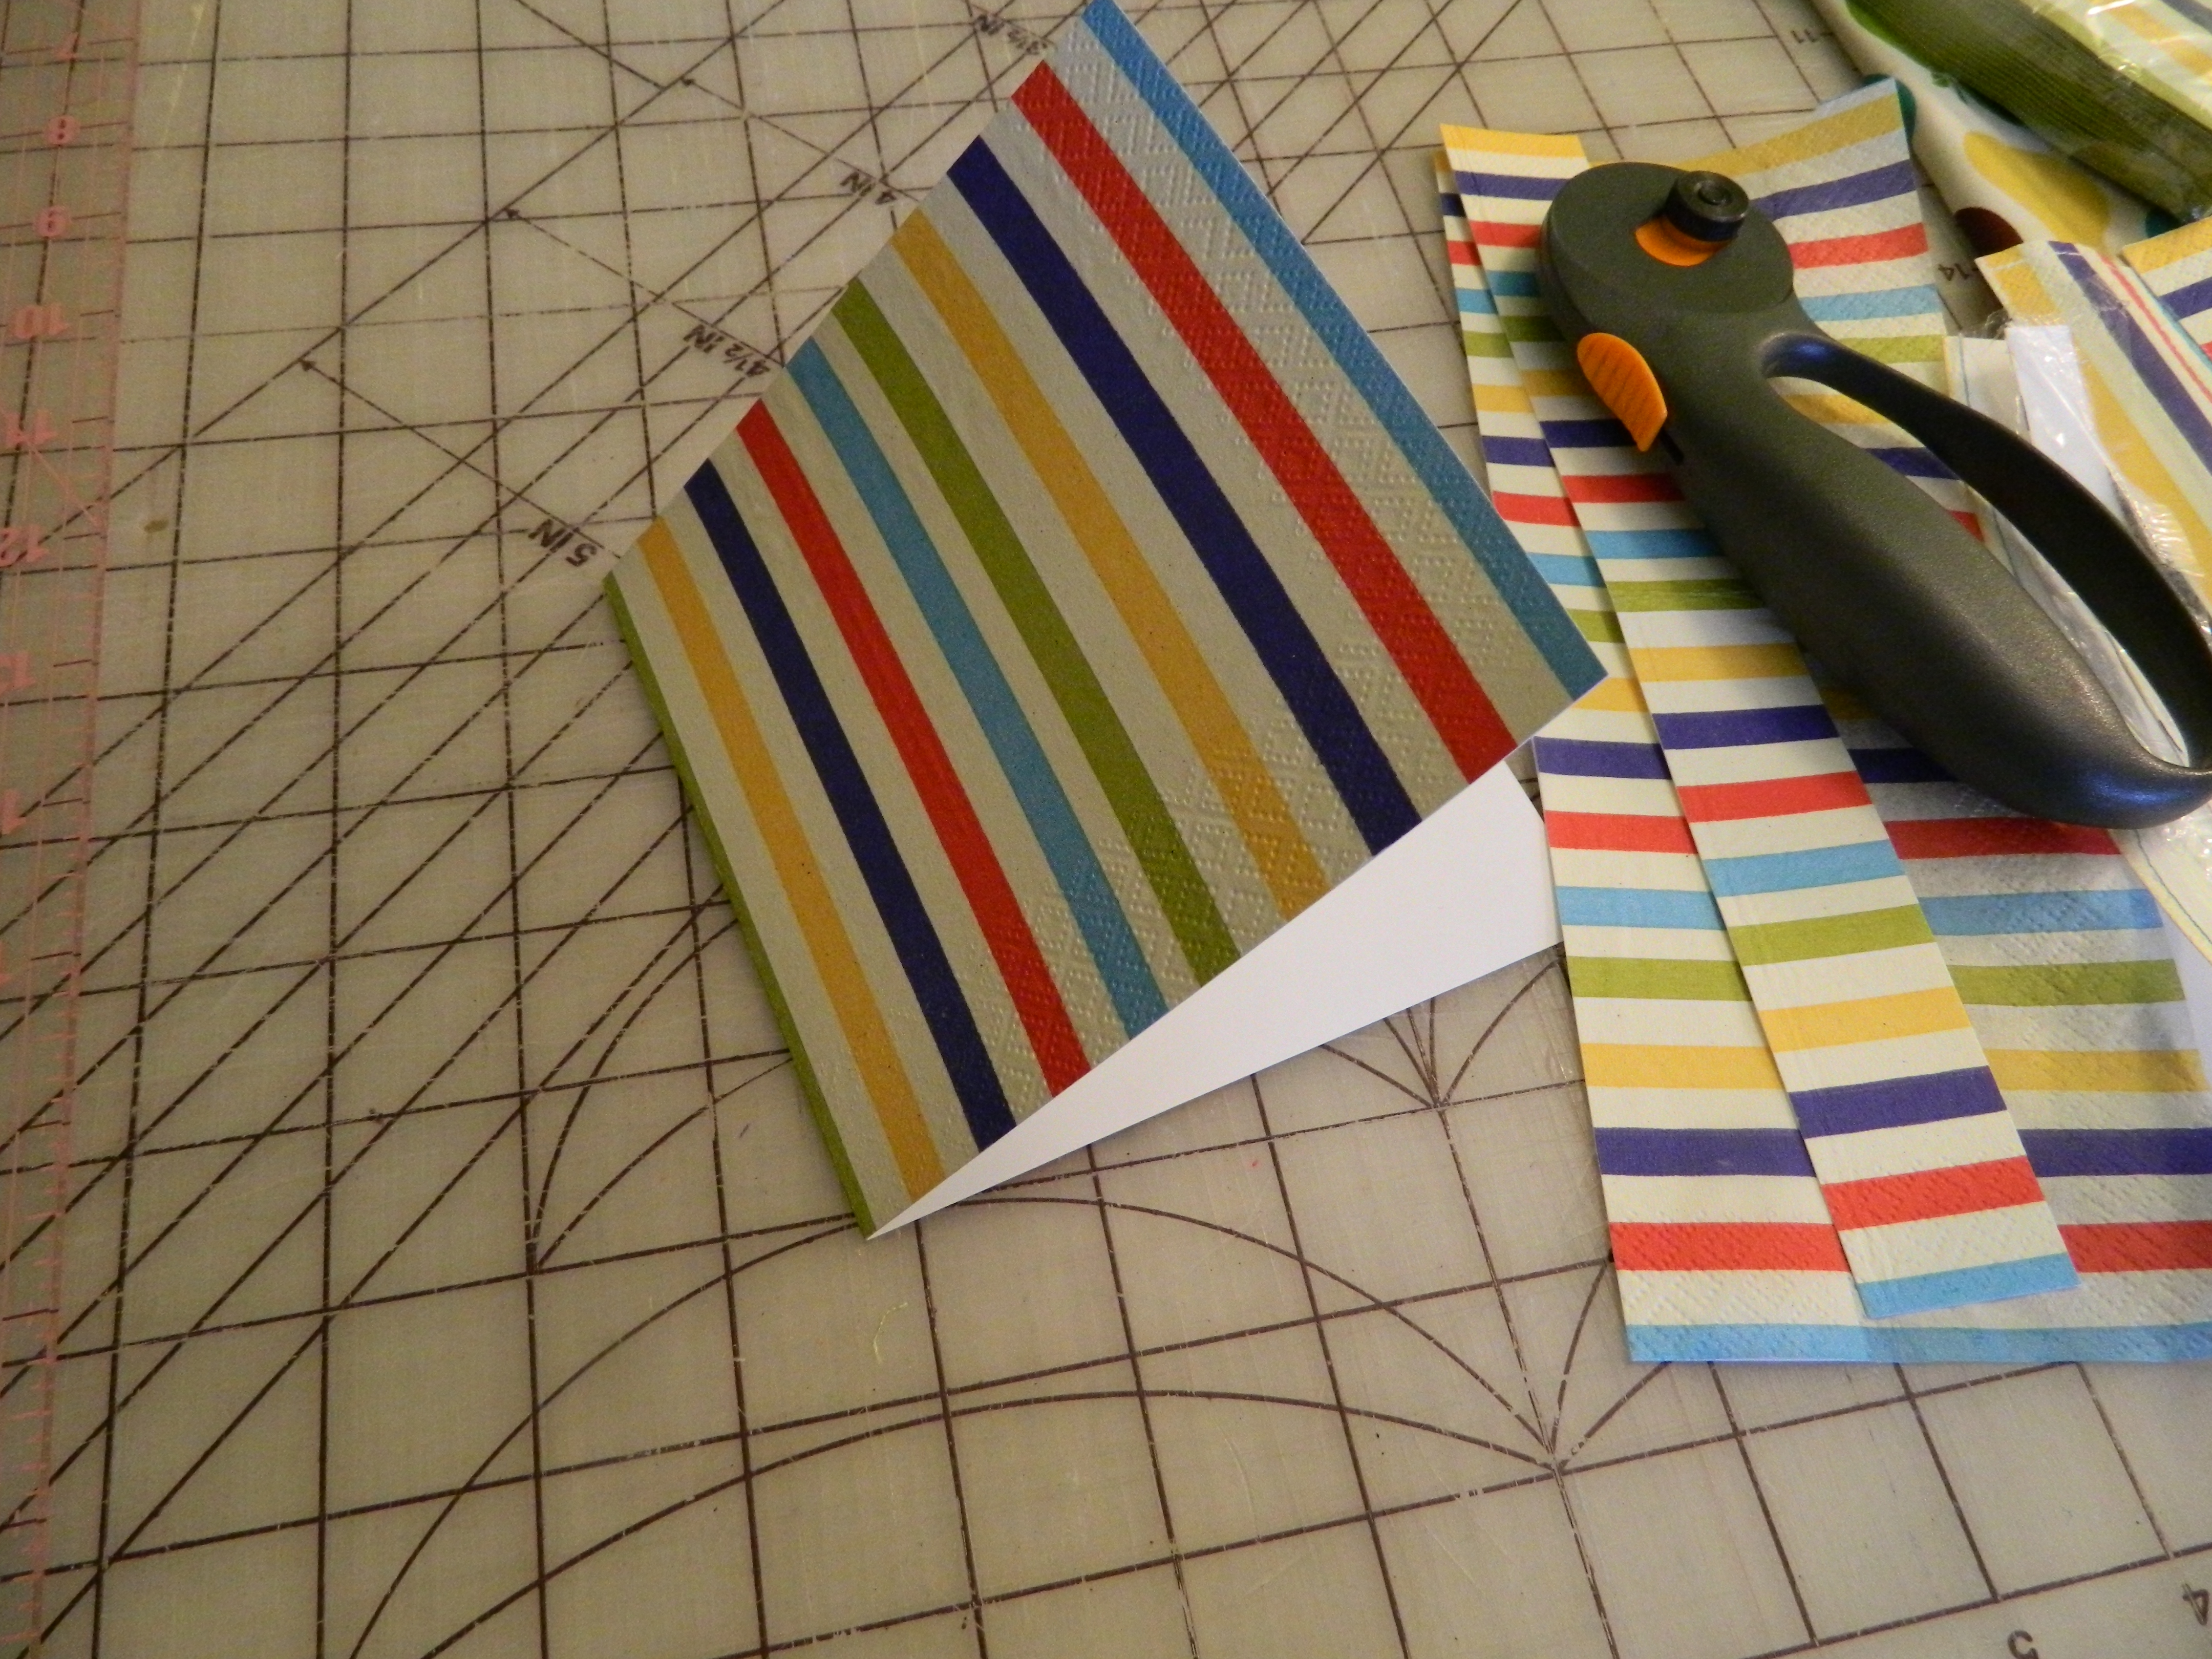
Check to see if everything is adhered where it needs to be adhered. Trim the excess napkin/saran wrap/cardstock away. Fold in half. Welcome to the world, a card made from napkins. Write a note on the inside or add some stamps/stickers to the outside. Just remember – it’s for greeting now. Not eating.

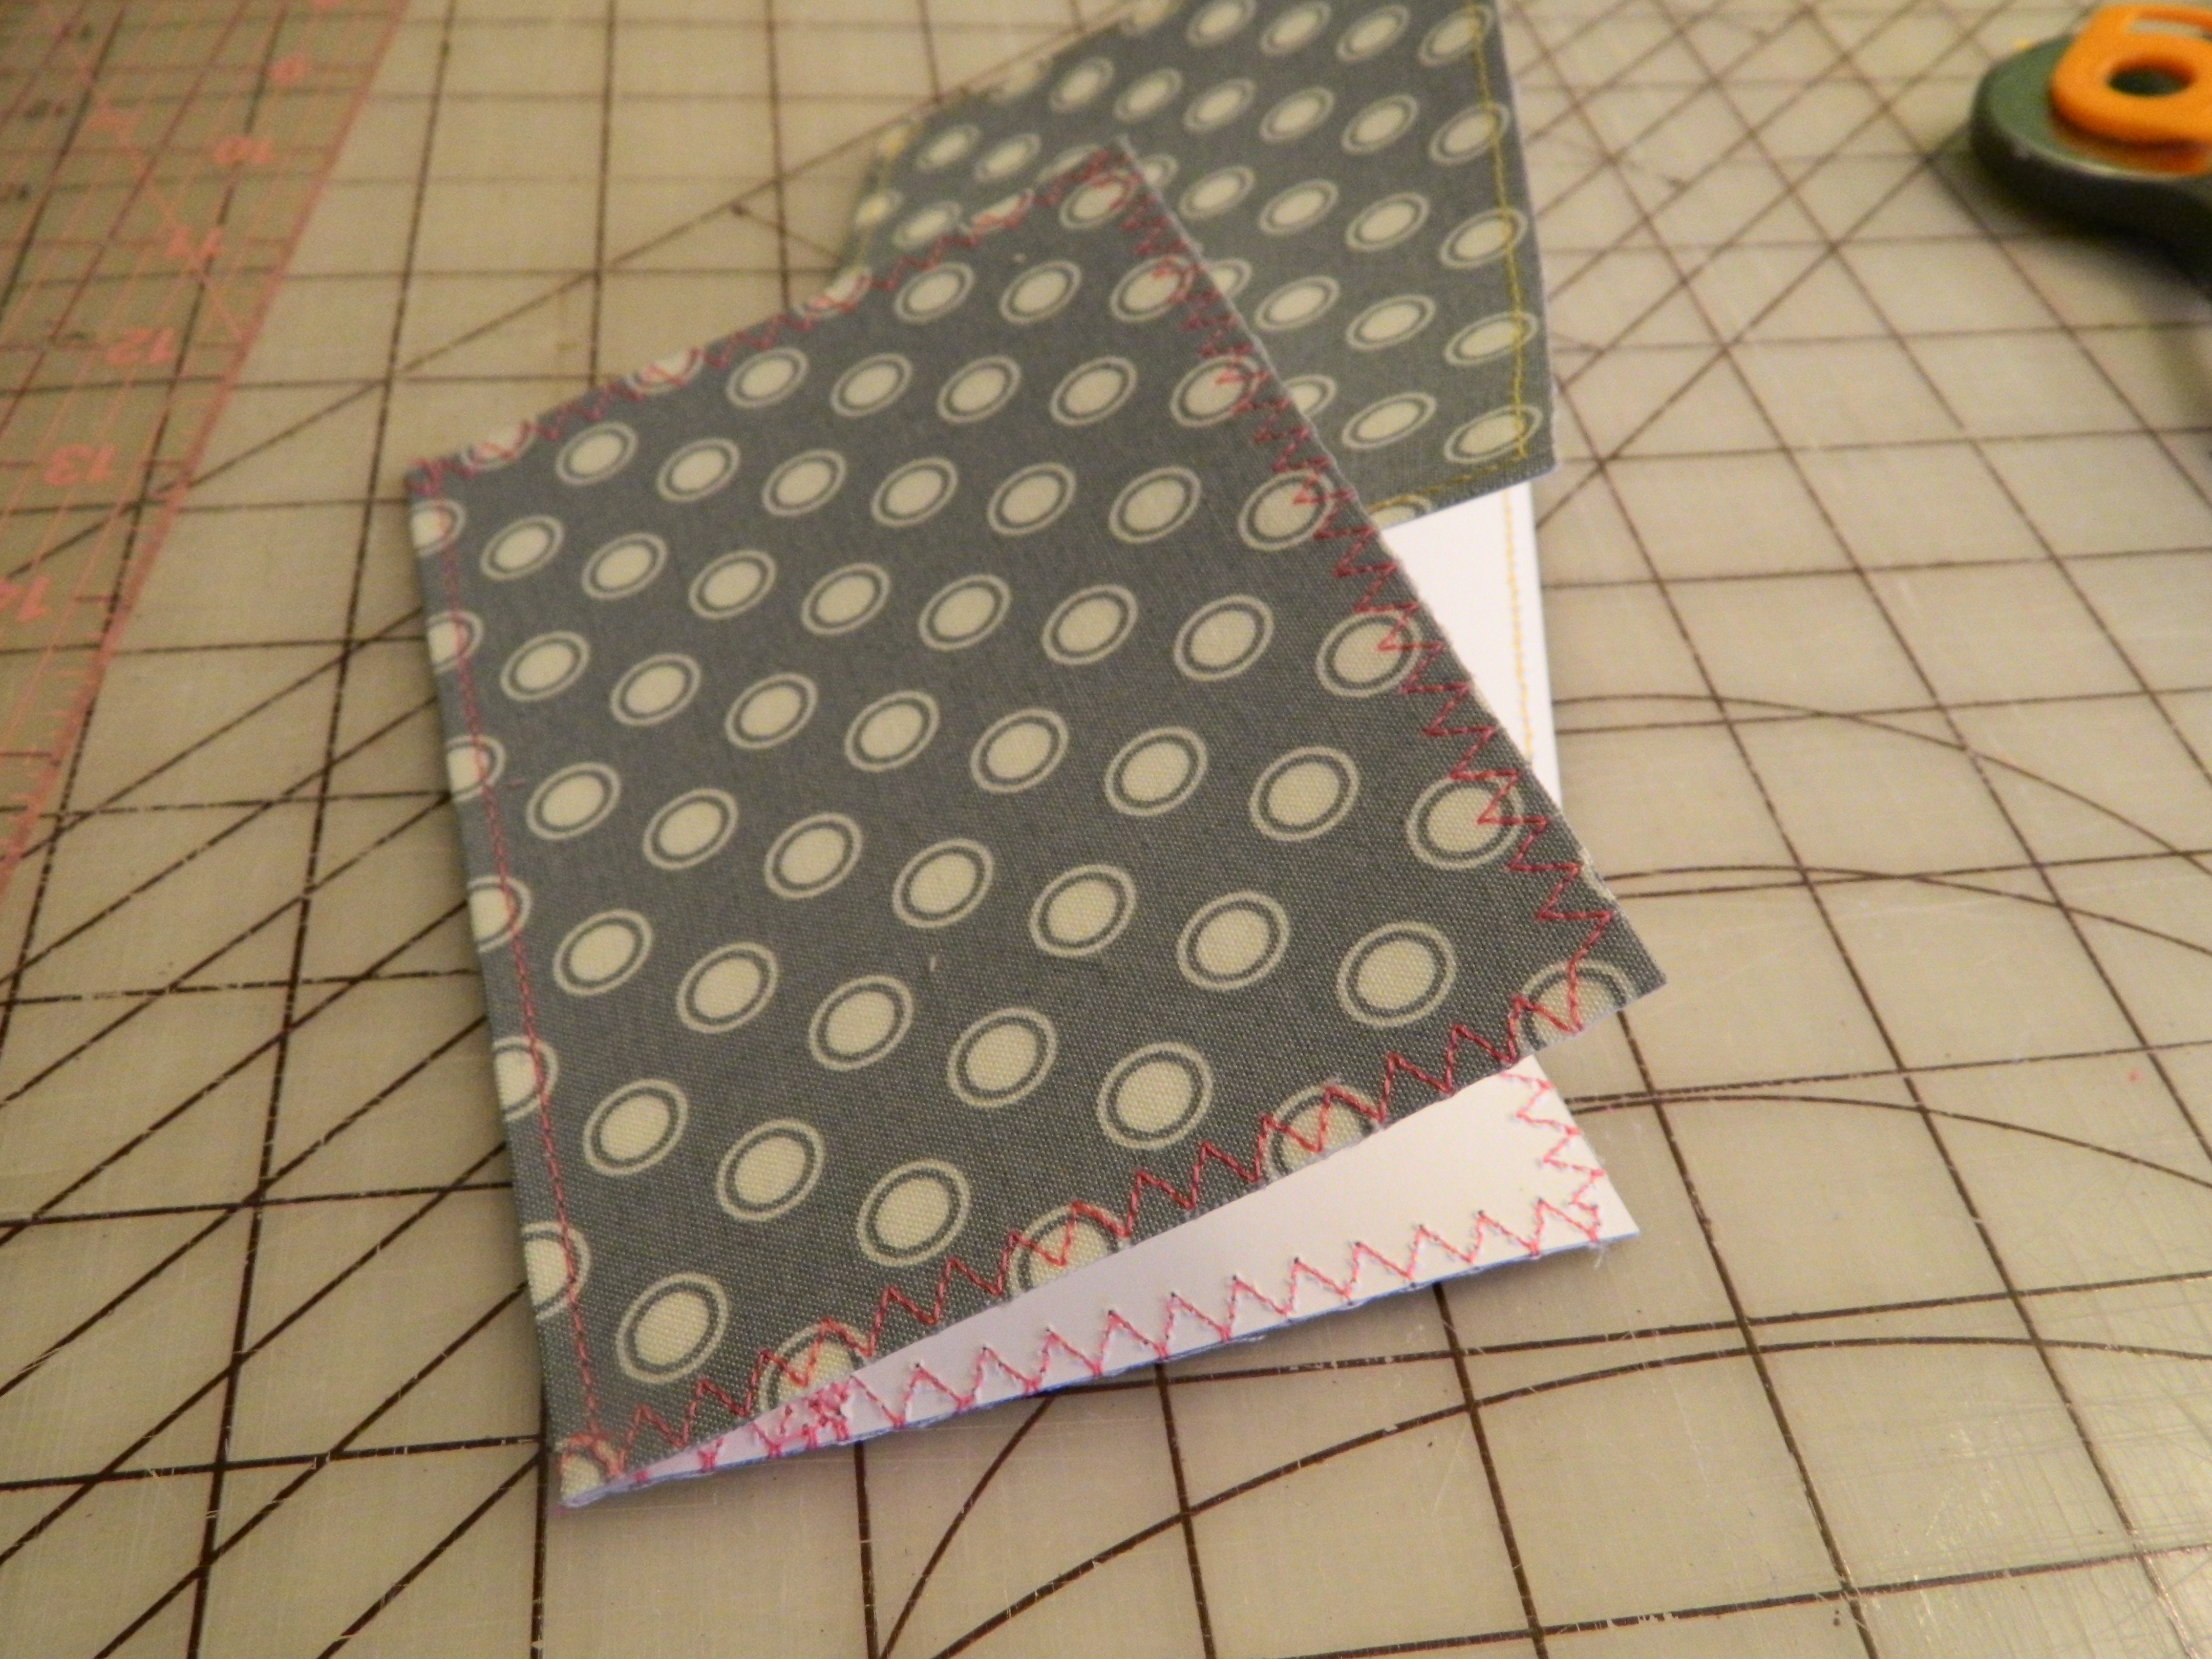
I made a couple napkin cards and then, as I stood in my craft room surrounded by fabric, wondered why I couldn’t make a fabric card. Hmm. Turns out saran wrap will not adhere to fabric but heat&bond you have in the cabinet will. I made a couple fabric cards and added a sewn boarder. It’s a little something – something different. Next, I think I may experiment making them into books. Oh, the possibilities of paper and fabric together!